Friday, June 27, 2014

Ina Garten's Lemon Cake Tweaked and Banana Bread Recipe


It's lemon season (yay!) and my little tree is being very generous.  I usually make lemon curd but this year I decided to branch out and try a cake.  I found an easy recipe by Ina Garten and tweaked it a bit with Splenda Blend and whole wheat flour to make a little healthier.  Since it was a test I only made half of the recipe which yielded two small round cakes.
Yummo!  This cake was very dense and lemony.  The only trouble I had with the recipe was ingredients were listed in amounts to be separated which meant more calculations. I advise reading through the recipe BEFORE beginning so you don't have to make adjustments later.
I love using the clear printed bags from Ben Franklin Crafts and Celebrations to package my baked goods for gift giving.  They make everything look yummier.  Next recipe to try: lemon shortbread cookies. All right everyone go bake up some smiles today.


This is for those of you who requested that I re-post my Splenda Blend Banana Bread recipe.  Some of you asked if you could use canned pineapple to make the version that I posted a few weeks ago.  I don't know but I was told that canned fruit cocktail (drained) could be used in banana bread so maybe you should experiment and you might create something tasty.

                                                 Splenda Blend Banana Bread

½ cup (1 stick) butter
½ cup Splenda Blend
2 eggs (beaten)
3 ripe mashed bananas
2 cups whole wheat (King Arthur) flour
1 tsp. baking soda
½ tsp. salt
½ cup chopped dried fruit (soak in warm water and drain if fruit is very dry), chocolate chips/ nuts

Mix soft butter with Splenda Blend until fluffy.  Add in beaten eggs and mashed bananas. Stir in flour that has been sifted with baking soda and salt.  Add in dried fruit, chocolate and/or nuts. Pour the batter into a large loaf pan (or two small ones) and place in cold oven.  Turn the temperature to 350 degrees and bake for 1-1/2 hrs or until knife inserted in loaf comes out clean.


Monday, June 23, 2014

Purse Thank You Card and Something New

My son and his fiancee recently gave me a beautiful purse and so I was extremely excited to create the perfect thank you note.  I immediately thought of the old Sizzix die that I have used many, many times in the past.  It was easy work to die cut the card from  printed two-sided cardstock (my scrap piece was big enough for two).  I added a button, little flowers and a Heiko sticker (maybe available at BFC or Celebrations).  Note: I buy little bags of buttons wherever I see a good bargain because you never know when you will find just the RIGHT one for that special project.
This is one of my long time favorite dies but I only noticed while making this card that this die is actually for making a mini journal.  The die also cuts the inner pages for the journal....cute ya?
Anyway this side-view show the space between the front and back which is meant to accommodate the pages. (The die actually makes the folds! I never noticed that.)
I thought this little paper purse could be used to hold a post-it note pad.  Velcro tabs form the closure.

Notice the perfect little button I found in Japan.  I think it is made from Fimo clay.

I made a custom envelope using the envelope punch (Ben Franklin Crafts) because the purse is an odd size and I like the look of a translucent parchment envelope.  I was thrilled to discover (hahaha! finally realize) what this old die can do.  Next, I will have to finally make a purse journal as shown on the die box.  LOL!

Thursday, June 19, 2014

Locker Box: A Business Opportunity


Have you ever thought of selling your crafts but couldn't find the right venue?  By now, many crafters have heard that HouseMart Ben Franklin Crafts has a locker box program which might just be the way for you to sell your crafts and manage a small business.  You simply go to one of the BFC stores in Hawaii and apply to rent a 18 x 18 clear acrylic locker box and you can start stocking your merchandise.  Every month you pay $30,$40, or $50 depending on the location of the box and you are responsible to pay tax on your sales.

Here are three views of my locker box in the Hilo Ben Franklin Crafts.  As you can see I have a variety of items stuffed (LOL!) into my little box.  

I struggle keeping my box replenished because the items are very different from what I make for this blog and there never seems to be enough time to do it all. Setting up a mini store requires learning many new skills like bookkeeping, display spatial analysis, marketing, etc. but it is an exciting challenge.

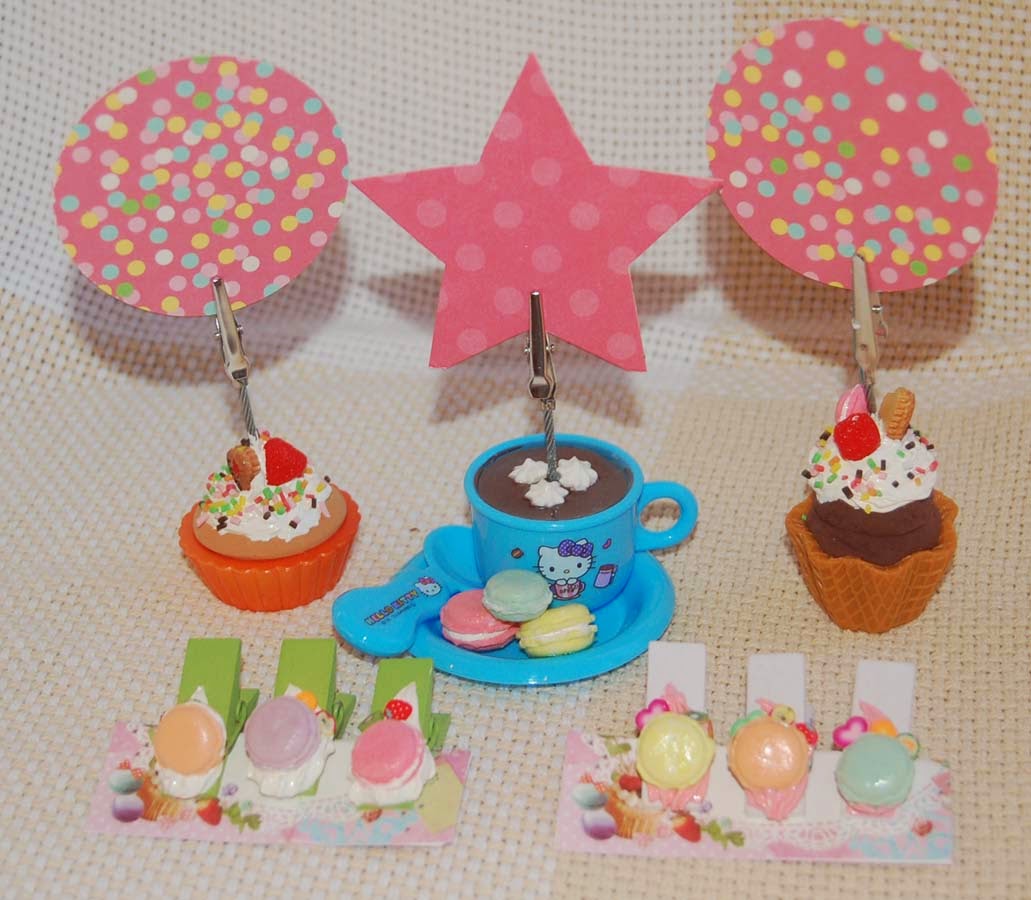
Here is a close up view of the latest additions to my locker box.  The items in the front are macaron clothes pin clips.
These are the resin candy rings (real candy inside!) that I just completed and will place in my box in a few days.  I hope that you will stop and look at the locker boxes in your local Ben Franklin Crafts.  I think you will be surprised and tempted by the amazing items for sale at reasonable prices.  Maybe you are a crafter who desires to take a small step into running your own business; renting a locker box at BFC can be your start.  Happy Crafting!


Sunday, June 15, 2014

The Bread Pudding Ratio

I 'discovered' (in my freezer) a small loaf of bread someone from Japan gave us.  Well, we don't eat white bread anymore so I thought I would turn it into bread pudding with oatmeal and flax seeds. Everyone loves my bread pudding and when I tell them that it is so easy they don't believe me.  All you have to remember is the ratio of eggs to liquid.  I always use 1/2 cup liquid to each egg.  Sometimes I use cream and water for the liquid but this time I used coconut milk and almond milk.  After cutting up the bread and mixing in the extras (chocolate pieces, chopped dried fruit, flax seeds, multi-grain oatmeal, etc.), I added in the liquid that had been flavored with vanilla, nutmeg, and Splenda/coconut sugar.  I don't use all white sugar for health reasons.
This somewhat healthy bread pudding turned out delicious.  I wish I had baked it in a smaller pan so it would have been thicker, but this way there are more pieces.  If you want this recipe, just ask and I will write it out for you, but really all you need to know is the ratio.  I love eating my favorite baked goods on vintage plates with vintage utensils because it makes everything more elegant and special.  Whether from a garage sale, antique store or online, there are treasures everywhere just waiting for you to find them.  Any other vintage treasure hunters out there?

Wednesday, June 11, 2014

Hana Hou Sea Glass Necklace


 Some of you may recognize this necklace as one I made for my sister awhile ago.  I guess she must have liked it and worn it a lot because she sent it back with the clasp broken off on one side.  The stringing wire was very twisted like she had taken the necklace on and off many, many times.  As happy as I was to learn that she made good use of it, I really didn't relish stringing all the little tumbled stone chips because my eye sight is not what it used to be (when I made the necklace a long time ago).  I decided to show you this piece again to tell you about how I speeded up the stringing process.   I used a technique that I saw someone doing  to string tiny seed beads.  You simply pass the new stringing wire through the beads while they are still on the old wire that you are unstringing.  Another time and supply saving tip is to string the beads onto the wire on the spool before cutting the length and the beads won't slip off as you are working and you will cut just what you need.
Finally, I wanted to show you that I used Bead Smith French wire around the normally exposed loop of wire that is next to the covered crimp bead.  This is a little step but it makes the jewelry more professional looking and may prevent twisting of the clasp.  Hopefully, this restringing will keep this necklace in good condition for many more years of use.  With time I learn new techniques that improve my crafting skills and I think it is my duty as a crafter to share the knowledge that I have acquired.  I hope this post has passed on something you can use in your life. Thanks for stopping to visit my blog.

Saturday, June 7, 2014

Inspired by Supplies

Inspiration for my cards often comes from just looking at supplies in my craftroom which haven't been used yet (so many).  The Mambi 12x12 Sheets (Me and My Big Ideas) with their drippy watercolor look, the Hero Arts banner stamp set, and Inkadinkado word stamps made me decide to create this child-like birthday card.
I also was influenced by other bloggers who use bright inks (Hero Arts Neon) and baker's twine (Doodlebug) to make their cards lively and fun. I think with the right words inside like, "Not Enough Fingers?" could transform this child's card into one for an older adult.
Here is another color version of the same card.  While not exactly a CAS (Clean and Simple) card, this one was pretty easy and a good one to put in my stash for upcoming birthdays because it can be adapted to many people.  Thanks for visiting this blog. Please leave a comment if you have some time. I enjoy reading your feedback. Have a sweet weekend!

Tuesday, June 3, 2014

Baking Experiment : Pineapple Banana Bread


It must be the scientist in me (loved my 1st Chemistry Set and microscope), so I can't help tweaking recipes even when they are already great. Once again I took my mom's banana bread recipe (think I posted it before but write to me if you want it) and altered it.  Usually, I just substitute the sugar with Splenda Blend and add nuts/bittersweet chocolate but I found some dried pineapple rings in my refrigerator (where dried fruit stays good....indefinitely?) so I thought, "Why not?".  First I soaked the dried chopped pineapple in some warm water for a few minutes so it would be moister. After mixing the batter I added in the pineapple and popped it into a cold oven before turning up the heat.  Notice the pretty silicon mini loaf pans (from Japan but seen in kitchen shops); they work really well (no oiling necessary) and clean up is a breeze.

Here is a look at the yummy result of my 'experiment'.  It has a nice sweet, tart taste and might be nice with macadamia nuts sprinkled on top for even more 'local' taste.  How about soaking the pineapple in rum first to give it a Banana Foster flavor? Ah, next experiment.........