Friday, October 28, 2022

Hexagon Halloween Shaker Card

This mini shaker card was created using Spellbinders hexagon dies. I started by forming a card from an Echo Park spider web printed card stock and then using the largest die to cut out the card.  Lining up the upper edge of the die with the fold of the card allows you to cut the card with the top folded edge intact.  I cut a second card from plain black card stock to use as a liner because the backside of the web card stock is too colorful and busy.  I used a smaller hexagon to cut the front window which I lined with clear acetate and framed the back of the window with foam strips. Sprinklets Halloween confetti and some sparkly tiny hexagon confetti were added to the acetate window.  Next was the tricky part....lining up the two cards without spilling the confetti. Once the card is aligned, double stick tape or glue can be added to the card's inner edges to form a sturdy card. For decoration, a Sizzix spider web die was used on vellum and part of the web was glued to a corner of the hexagon card front.  Finally, a Whimsy Halloween cat with a broom was stamped, colored (with Copic pens), and fussy cut by hand before attaching to the card with foam dot adhesives.  I am happy with the unique shape and layout of this Halloween card.  I think the confetti shaker really adds a fun element to this cute card....can't stop shaking this mini card. LOL! Have a safe and sweet Halloween night!


Monday, October 24, 2022

Zombie Halloween Card

Remember the iconic scene of Jack Nicholson in the Shining?  That's basically the look I was trying to achieve with this zombie card. I started by stamping the Whimsy image in black permanent ink onto white card stock.  Then I used watercolor pencils to roughly color in the zombies and lightly brushed them with water to blend the colors.  Next I cut a piece of DCWV Gauze Paper to fit the purple card blank.  I tore the center of the gauze paper rectangle to accommodate the zombie image.  Small pieces of the gauze paper were glued back to give a better frame for the image. I love the way the gauze paper fibers hang down over the zombies making them look even spookier.  The 'Happy Halloween' words were cut from grey card stock using the Whimsy die and glued down with Beacon 3 in 1 adhesive.  I usually make cute Halloween cards suitable for kids, but I did have fun with this one and now this zombie stamp is one of my favorites.  Oooooh! Noooo! Am I going to the dark side? Muahaha!


Thursday, October 20, 2022

Haunted House Slimline Card

I purchased the Whimsy Haunted Graveyard Border Die Set last year but didn't have time to try it out until this year.  I love the spooky look and the fact that it has three moon dies.  I used it to cut out a piece of textured grey card stock which I sprayed with Distress metallic ink.  I blotted the excess ink so the result was a slight shimmer. Perhaps I should have sprayed the ink on the paper first, let it dry, and then cut it out so that there would be speckles.  The background paper is from a Whimsy Stamps Designer Paper Pack called Nebula.  The moon was cut from a scrap of watercolor paper that I had hand dyed.  I really like the look of the moon with the die cut bats.  Maybe I should have sprayed the moon with shimmery Distress Ink too.  Overall, I think this card turned out well and it was super simple to make so that's a plus too. Please return to this site again to see a few more Halloween cards that I've been planning. It's the spooky season!


Sunday, October 16, 2022

Halloween Treat Bag from a Recycled HA Snack Bag

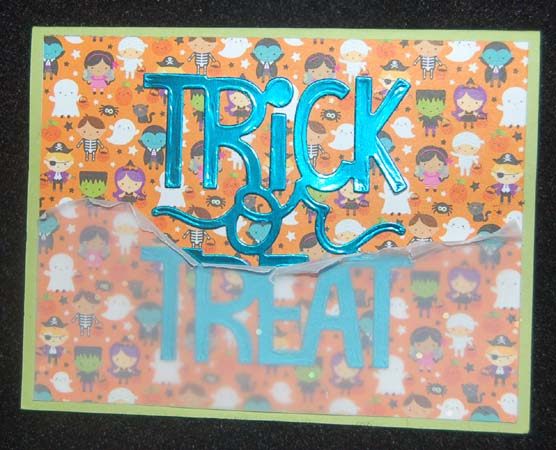
I'm always happy to receive a snack bag while on a Hawaiian Airlines flight....the snack is okay, but the bags are fabulous for upcycling.  The bag is made with a sturdy kraft paper with handles made from lovely woven ribbons strung through metal eyelets.  Here is what I made for two of my favorite trick-o-treaters.  On the front I placed a die cut raven (made from an old Tim Holtz product), Lawn Fawn die cut foil card stock words, and a pumpkin print card stock cut with a circle die.  Everything was glued down with 3 in 1Beacon clear glue.  The circles on the front and back of the bag were glued to cover the Hawaiian Airlines logos.


For the back of the same bag, I adhered a strip of printed card stock (houses with trick-o-treaters), a die cut gold foil circle, and a cat die cut from black card stock. I also tied on with decorative yarn a printed card stock tag cut with a Hero Arts Infinity die.  I am extremely happy with these bags (I made two) because they used up lots of my Halloween scrap papers and recycled bags that most people throw away after eating the HA snack.  I kept the bags simple because I'm sure that my two special trick-o-treaters are more interested in the goodies inside than the decorations outside. LOL!


Wednesday, October 12, 2022

Super Simple Trick O' Treat Card

To me Halloween is all about the candy not the cards....LOL! ...so I kept these simple.  I used my new Lawn Fawn die to cut the letters from foil or glitter paper (DCWV).  I found some colorful printed Halloween card stock in my stash to use for the background.  Heiko double stick tape adhered the papers to the card blanks. Finally some translucent vellum paper was cut and torn to partially cover the words. This piece was attached on the three straight sides with tacky tape that comes in a hand held dispenser (Japanese product?) (maybe found at Daiso).
Here is a second version.  I think the torn vellum looks like a candy wrapper that I once ripped open in search of a sugar high. Hahaha!


Saturday, October 8, 2022

Embossed Autumn Leaves Card

I wanted to play with some newly purchased autumnal crafting supplies.  For this first card I used the Sizzix Autumn leaves embossing plate on light brown card stock.  To highlight the leaves and acorns, I rubbed on Ranger distress crayons.  Trimmed to size, this panel was adhered to a Kraft paper blank card. The words were die cut (using the Lawn Fawn die) from a light olive green shimmer paper (DCWV) and adhered with Beacon 3-in-1 glue.
For this second card, the leaves were embossed onto a watercolor paper that was rubbed with Distress crayons and sprayed with metallic Distress inks.  (Dry the paper before embossing.)  The cute Whimsy squirrel was stamped, colored with Copic inks and fussy cut by hand before attaching to the card with foam adhesive dots.  As you can see these cards were super simple to make and gave me a chance to try some new supplies and techniques.  It's just too bad my camera failed to capture the shimmery look of these cards.  I just returned from Boston and the leaves were just starting to turn colors, a yearly event which never ceases to inspire my card crafting. Fall is definitely my favorite season!


Tuesday, October 4, 2022

Fang-tastic Day Peek-a-Boo Pop-up Card

For a change, I didn't struggle with this interactive pop-up card, maybe because it had very few pieces and the Lawn Fawn instruction video was simple.  I love the way the card is folded and then when you pull it open the little twin bats pop out!  The stamp and die sets include several differently posed bats...so cute for Halloween!  I used paper from an old Martha Stewart Halloween paper pack and colored all the images with Copic pens.
There were several possible choices for the sentiment but I love word puns so of course I chose the Fang-tastic one.  It was stamped on leftover scrap paper and heat embossed with Platinum embossing powder.  One detail that is not really visible is that the paper has fine shiny spider webs on the greyish background...so creepy!  I hope you'll try this new Lawn Fawn die set, Peekaboo Pop-Up.  I am absolutely positive you'll have fun creating all sorts of amazing cards all year long.