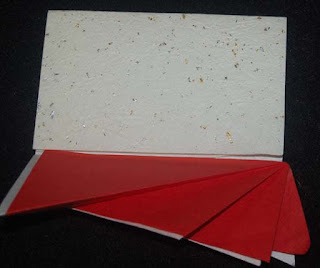
When opened, the card looks like this. The foil looks orangey because of the reflection of the camera flash.
When the front flap is further opened, it reveals a space for writing a message. I glued on some lightly lined vellum paper because the surface of the crinkled card is too lumpy for handwriting.Because Japanese cards are generally sized differently from American ones, I had to create my own custom envelope. I chose gold vellum paper and I think it makes the card look very classy....perfect for a wedding card.
Here is what the original sample card looked like when I found it in a bag of paper scraps sold in a Japanese paper store for 200 yen. I am usually happy as a pack rat with whatever I discover in the mystery paper packs, but finding this sample was a bonus. For this first card I simply traced around the sample, marked the folds and presto the card was done!
For future cards I think I will make a card stock template to make tracing easier. Also I will look through some of my origami folding books to see if I can find measurements for making this card easier to construct. I do believe that there is a simpler way to construct this card. I will work on this idea after the holiday season. I think that this basic card will make lovely, easy birthday, sympathy, etc. cards using printed and solid origami paper. Okay, still time for one more Halloooweeen project!


3 comments:
Wow, that's a really cool fancy fold card. You should create a template for it and share as a tutorial!
Those folds look very cool!
love the folding and the gold and red are just gorgeous.. lovely cards
Post a Comment